How to Replace a Drone Motor: A Step-by-Step Guide
Leave a message
When do you need to replace your drone motor
Among all drone components, the motor is both essential and highly prone to wear. Although high-quality brushless motors can be used for hundreds of hours under normal conditions, you need to consider replacing the motor in the following situations:
1. Motor Fails to Start or Stalls
If you find that a motor cannot start, or sometimes turns and sometimes does not turn, or has obvious "stuttering" phenomena, it is likely that the internal winding is burned out or the control signal is abnormal. Replacement is usually the quickest solution.
2. Unstable or Off-Balance Flight
The decline in motor performance may lead to inconsistent thrust, causing flight drift, vibration, and even flight control failure. This is especially common in multi-rotor drones. Once the thrust of one axis is insufficient, the overall flight control balance will be broken.
3. Overheating or Unusual Noises
If the motor continues to heat up, emits irregular whistling or friction noises without being overloaded, it usually means that the bearings are aging, the magnets are demagnetized, or there is internal mechanical damage. In this case, the motor should be inspected or replaced as soon as possible.
4. Physical damage to the motor
After a crash or collision, obvious damage to the motor, such as a bent shaft, cracked casing, or broken wires, is a direct sign that the motor must be replaced.
5. Upgrades or Platform Modifications
Sometimes it is not the motor that is damaged, but the aircraft load, battery voltage, or the thrust, speed and other performance indicators need to be improved, and a more suitable new motor model needs to be replaced.

Preparation before replacing the motor
Before replacing a drone motor, being well prepared will not only improve operational efficiency, but also avoid unnecessary damage or safety hazards. The following are the necessary preparation steps before replacement:
1. Confirm Motor Specifications
First, confirm the model of the motor you want to replace, including:
KV value (determines the speed)
Supported voltage range (e.g., 4S, 6S)
Dimensions and mounting hole spacing
Shaft diameter and propeller compatibility
If upgrading for performance, compare key specs like thrust, power, and current to ensure compatibility and safety.
2. Prepare basic tools and accessories
Depending on the drone structure, you may need:
Phillips screwdriver (common M2/M3 screws)
Welding tools (soldering iron, solder wire)
Heat shrink tubing or electrical tape
Tweezers, small pliers and other auxiliary tools
Use anti-static tools whenever possible to avoid damaging sensitive electronics like ESCs or flight controllers.
3. Disconnect power and remove battery
Before replacing the motor, you must disconnect the main power supply and unplug the battery. Even if the drone is not powered, some ESCs may still have residual current, which may cause short circuit or burn out components.
4. Clean up the work area
It is recommended to perform the replacement operation on a clean and bright workbench to prevent small screws or motor wires from being lost, and use a magnetic tray to store parts when necessary.

Complete steps to replace the drone motor
Once the preparations are complete, you can begin the actual operation of replacing the motor. The following steps apply to most multi-rotor drones, including mainstream structures such as cross-country drones and aerial photography drones:
Step 1: Remove the propeller
Detach the propeller using a suitable tool or by carefully rotating it by hand.
Purpose: To prevent accidental rotation of the motor from injuring people. This is also the first step in standard operation.
Step 2: Disconnect the motor cables
According to the connection method between the motor and the ESC (welding or plug), remove the three motor phase wires;
If it is a soldered connection, use a soldering iron to heat it and then absorb the solder or pull it apart directly;
Remember the original wiring sequence and colors so that you can connect them correctly when installing the new motor.
Step 3: Unscrew and Remove the Motor
Use a screwdriver to remove the screws securing the motor to the frame.
Some racks may have vibration pads or mounting rings, be careful not to lose these small parts.
Step 4: Install the New Motor
Align the new motor with the mounting holes on the frame and tighten the fixing screws;
It is recommended to use thread glue (such as Loctite 243) to reinforce the screws appropriately to prevent them from loosening during flight.
Make sure the motor is installed flat to avoid tilting or scratching.
Step 5: Reconnect Motor Wires
Reconnect the three phase wires to the ESC. The order doesn't matter-just match the original setup.
If you find that the rotation direction is incorrect after replacing the motor, just swap any two phase wires;
If it is a solder connection, please use heat shrink tubing to protect the solder joints to avoid short circuits.
Step 6: Confirm the rotation direction
After power is applied, the rotation test is performed without installing the propeller;
If there is any deviation, swap the phase lines or set the rotation direction through the software.
Step 7: Install the Propellers and Test Flight
Install the propeller in the correct direction;
Perform a brief takeoff test to check that the motors are running smoothly and that vibrations are normal.

FAQs and notes
Q1: What if the motor wires are connected in the wrong order?
It won't damage the system, but the motor may spin in the wrong direction, affecting flight control.
Solution: Swapping the positions of any two motor wires can change the direction of rotation.
Q2: What should I do if the thrust becomes smaller after replacing the motor?
Possible causes include:
The KV value or voltage adaptation range of the new motor does not match;
Incompatible propellers or overloads used;
The ESC is current limited or not calibrated.
It is recommended to confirm the motor parameters and refer to the maximum thrust and power of the original motor before making the selection.
Q3: Do the ESCs need to be recalibrated?
In general:
If you are just replacing the same model motor, it is not necessarily necessary;
If you replace a motor with a significantly different KV value/specification, it is recommended to recalibrate the ESC;
Especially in racing or load scenarios, more precise adjustments can avoid instability at the moment of takeoff.
Q4: Can the motor be replaced with a different brand or model?
Yes, provided the following parameters remain compatible:
The installation hole spacing is consistent with the rack;
The voltage range is consistent;
The thrust/power meets the flight requirements;
It is recommended to replace all motors on a quadcopter/hexacopter drone as a set to avoid unbalanced flight.
Q5: Is it necessary to use thread glue?
Highly recommended, especially for drones and long-duration flying platforms.
The motor screws are very easy to loosen under high-frequency vibration, which may cause thrust loss at the least and even fall off directly at the worst.

How to choose the right drone motor? VSD full model recommendation
When replacing a drone motor, choosing the right model is more important than the replacement operation itself. The following points are what you must consider when choosing a motor:
Key factors in motor selection
Voltage Compatibility (Based on Battery Configuration)
The voltage range supported by the motor must match the drone battery. Otherwise, there may be insufficient thrust or the motor may overheat.
KV value selection
The higher the KV value, the faster the motor's no-load speed, which is suitable for light load and racing scenarios; the lower the KV value, the more suitable it is for high torque and heavy load platforms.
Thrust Output vs Load Requirement
Choose a motor with at least twice the aircraft's total weight in maximum thrust for optimal flight stability.
Structural dimensions and installation holes
Confirm whether the motor outer diameter, shaft diameter, screw hole spacing, etc. are compatible with the original frame.
Application scenario matching
Different flight missions have different requirements for motor response speed, efficiency, life, etc. When selecting a model, you must be clear about your drone application goals.
VSD UAV motor model full range recommendation
VSD offers a variety of high-performance brushless outer rotor motors, covering all application scenarios from lightweight drones to large multi-rotor platforms:
|
Model |
KV value range |
Voltage support |
Maximum thrust |
Recommended application scenarios |
|
380KV |
6S ~ 12S |
9034g |
Industrial-grade multi-rotor, large-load UAV |
|
|
420KV |
6S ~ 8S |
7232g |
Commercial aerial photography, multi-rotor flight platform |
|
|
900 / 1050 / 1520KV |
5S ~ 8S |
4185g |
Medium-sized aerial photography and mission drones |
|
|
1300 / 1500 / 1950KV |
6S |
2910g |
Medium-load aerial photography platform, multi-purpose aircraft |
|
|
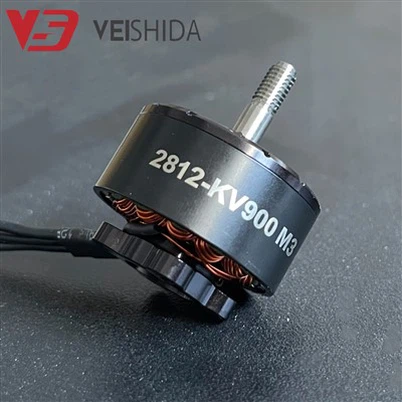
900KV |
6S |
2710g |
Small and medium-sized platforms with high stability requirements |
|
|
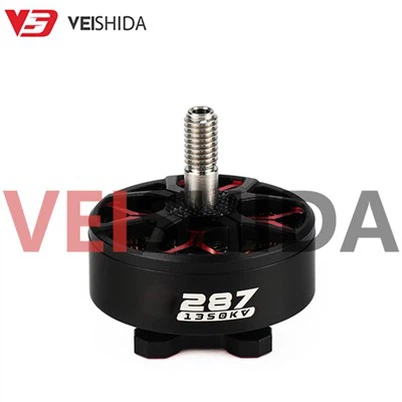
1350 / 1750KV |
4S ~ 6S |
2728g |
High performance light payload aircraft |
|
|
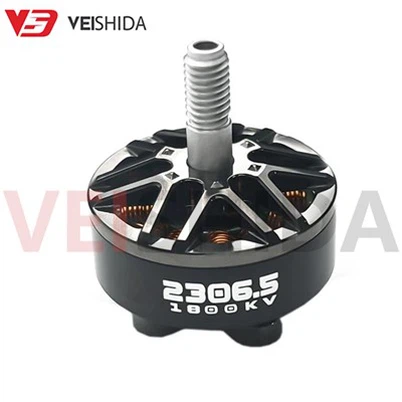
1800 / 1960 / 2400KV |
4S ~ 6S |
1683g |
Cross-country drones, racing drones |
|
|
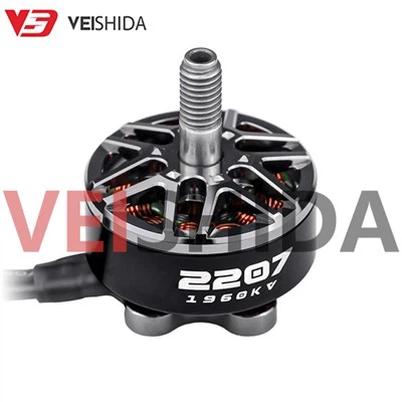
1960KV |
6S |
1702g |
High-speed FPV, competitive platform |
Feel free to contact us for detailed manuals, technical consultation, or sample requests. VSD also offers KV customization, voltage tuning, and matching ESC recommendations. OEM/ODM services are available to meet a variety of drone project needs.